| Plans | ✗ Forever Free | ⱱ/✗ Scale | ⱱ Enterprise |
| User roles | ✗ Reader | ⱱ/✗ Writer | ⱱ Admin |
 Why?
Why?Setting permissions can be especially helpful to restrict certain users from seeing specific content. It allows you to keep your original structure but just hide parts of your content.
Think of hiding a Pay Roll library inside your Human Resources board. Or hide a Leadership Board as you only want this to be accessible to your leadership team!
 How?
How?
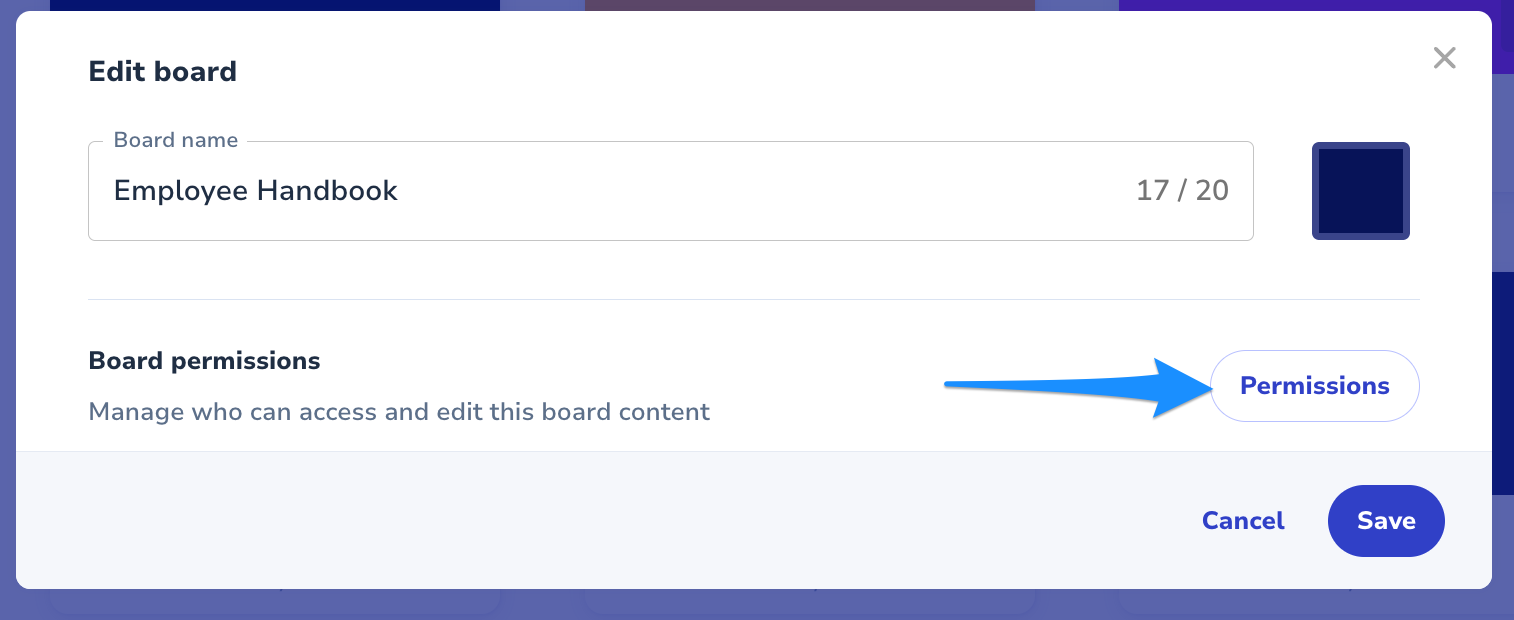
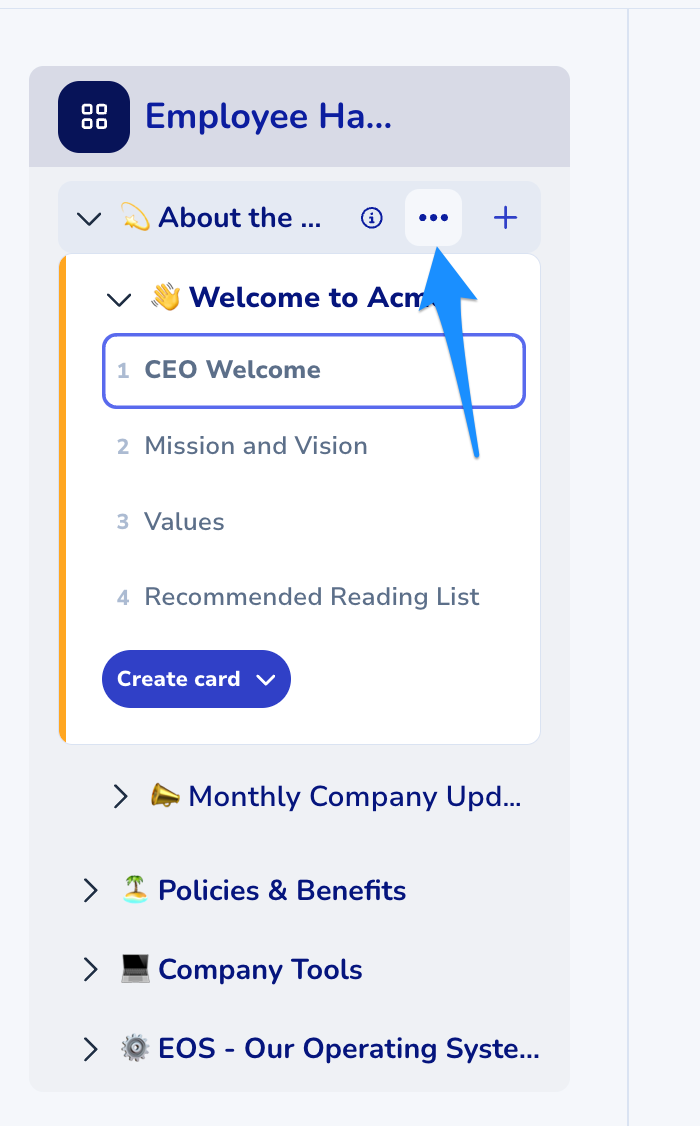
There are three levels of permissions and they can be changed in two locations; one is on the level of Boards and the one on Library level.
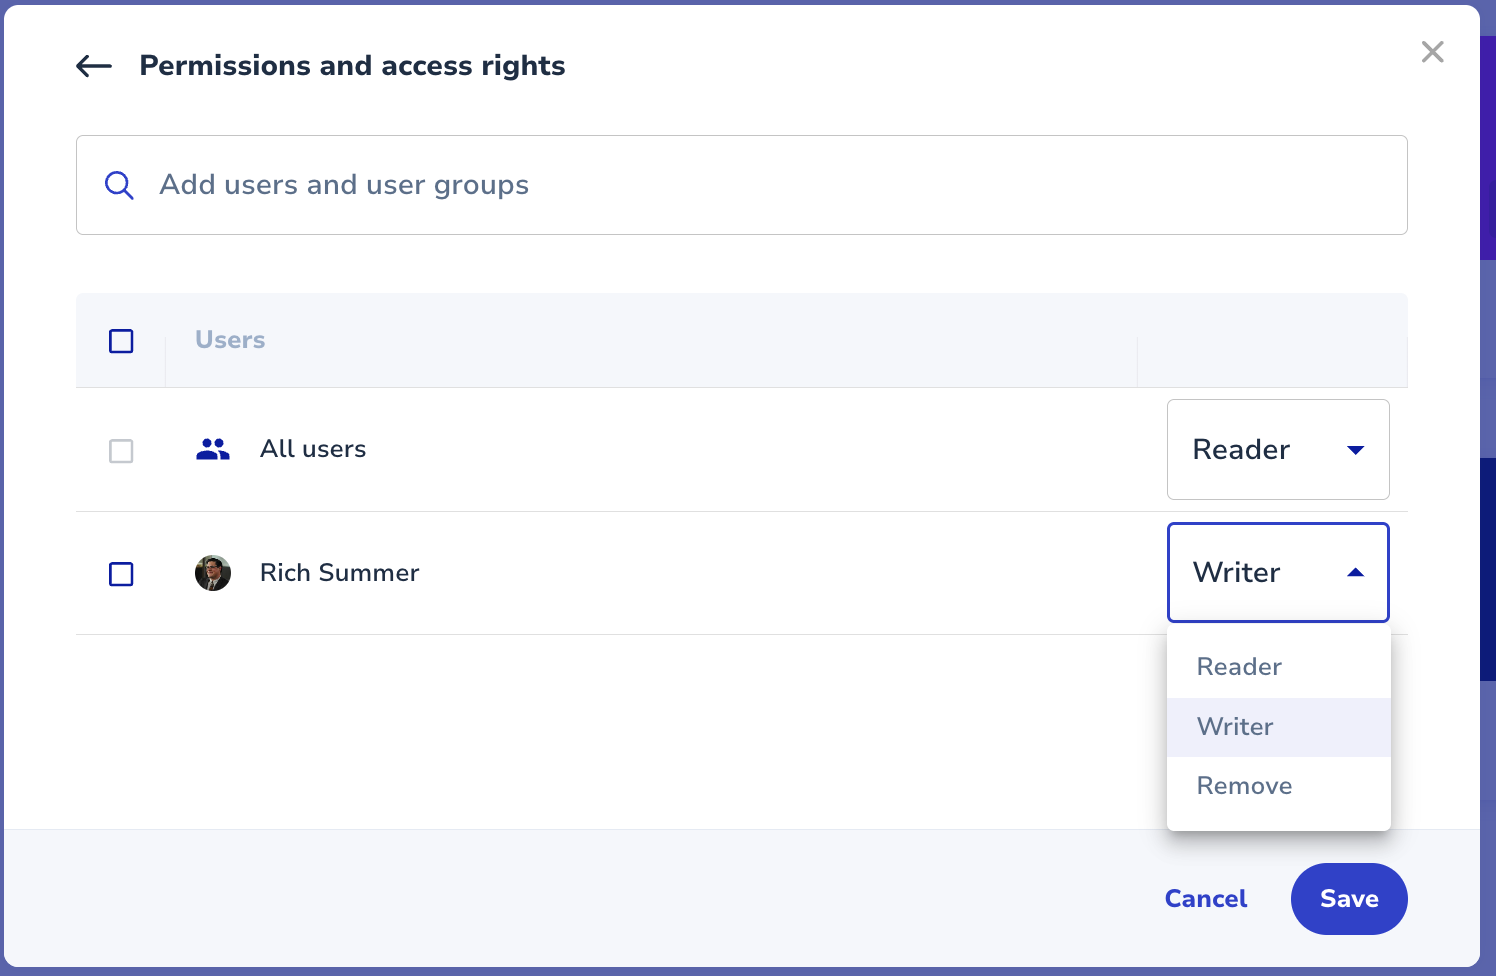
The workspace member can read knowledge but can't create it on the board/library.
The active workspace member can create and manage the content of the board/library.
No Access, previously known as "Invite only" (No Access is only available for the "All Users" group) gives only admins access to the board and lets you add specific people or groups with specific permissions individually


 If your "All users" group is set to Reader, all your additional users who also have read access will be removed out of the user permission table to avoid redundancy.
An individual user permission overrules the settings of a user group setting. E.g., Bram Billiet is a member of the Sales Team group. In the permission table of a private board, the sales group is added as Reader and Bram as Writer.
Bram will have the permission to create and edit content (Writer); the other members of the user groups will only be able to read content (Reader).
 In List view:


If your "All users" group is set to Reader, all your additional users who also have read access will be removed out of the user permission table to avoid redundancy.
An individual user permission overrules the settings of a user group setting. E.g., Thomas is a member of the Dev Team group. In the permission table of a private board, the sales group is added as Reader and Thomas as Writer.
Thomas will have the permission to create and edit content (Writer); the other members of the user groups will only be able to read content (Reader).
Note: As the permissions work in a granular way, the library permissions will overrule the board permissions.
E.g.: Bram has writer permission on board level (see board permissions point 6) but "All user" on library level is set to "No access" and Bram does not have individual access and is not part of the dev team. He then will not be able to see this library.
 Video
Video--
 If you landed on this page while looking for information on documentation and training software you can navigate to our main webpage --> usewhale.io/
Was this article helpful?
That’s Great!
Thank you for your feedback
Sorry! We couldn't be helpful
Thank you for your feedback
Feedback sent
We appreciate your effort and will try to fix the article